Creating kits
This guide will cover how to create a kit in a step-by-step guide with images and examples!
Danger
If you edit the actual kits.yml file, there is a high risk of you losing all your kits due to a syntax error.
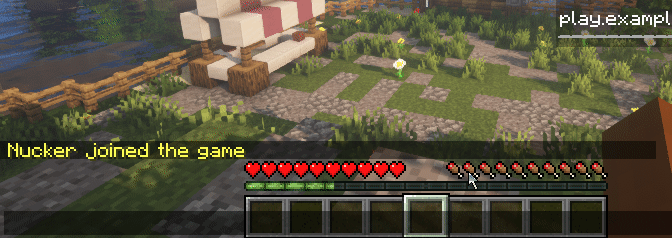
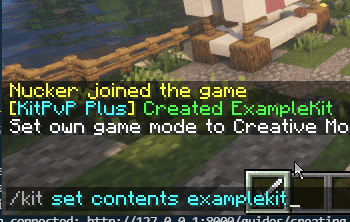
Step one
First of all your gonna want to create the kit. You can do this by running
1 | |
Example
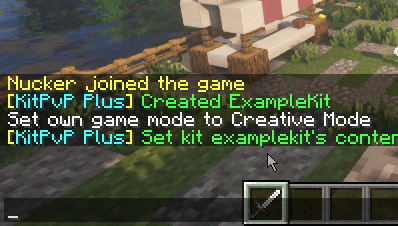
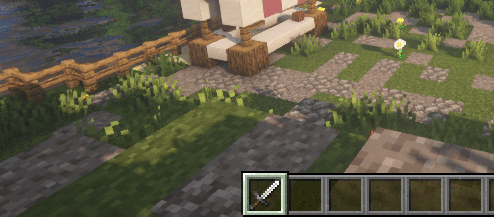
Step two
You can now set the contents of the kit. Put all the items you want in your inventory and run
1 | |
Example
Step three (Optional)
You can set an icon. This is the item type that appears in the kit gui (if you have the enabled). You can set it by running
1 | |
Example
Step four
Setting the permission allows you to limit access to the kit to only people with the certain permission. Its pretty simple, its just
1 | |
Tip
You can set no permission by just doing
1 | |
Step 5
The rest is pretty self-explanatory. You can use auto-tab to find what you can set.
Found a problem? This documentation is open source and can be found here.